A series of easy and simple steps needs to be followed for the installation of Virtual-Box on our Ubuntu 14.04 LTS. The foremost reason behind installation of Virtual-box is the difficulty of having so many systems to work on the different topologies mentioned in the different experiments we performed. So, here are a few basic steps required for installation :
Step 1: Add Virtual-Box repository link in apt source list . We will edit /etc/apt/sources.list file.
sudo gedit /etc/apt/sources.list
Now paste below given lines at the end of file /etc/apt/sources.list . And save the file.
deb http://download.virtualbox.org/virtualbox/debian trusty contrib
Step 2 : Download and add Oracle public key for apt-secure.
wget -q http://download.virtualbox.org/virtualbox/debian/oracle_vbox.asc -O- | sudo apt-key add -
Step 3 : Install DKMS package
sudo apt-get install dkms
Step 4 : Now install VirtualBox 4.3.10
sudo apt-get update
sudo apt-get install virtualbox-4.3
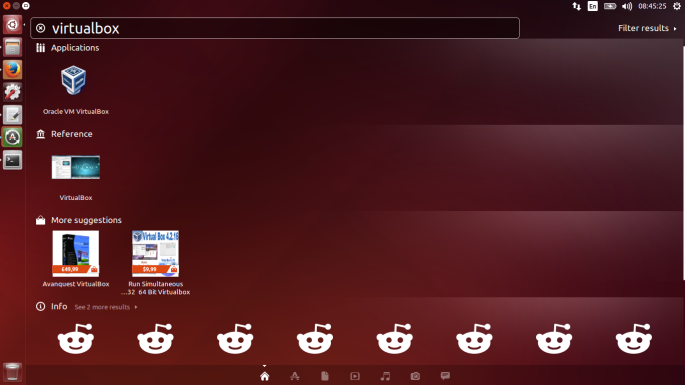
Step 5 : Now after installation, you can open the VirtualBox from Dashhome .
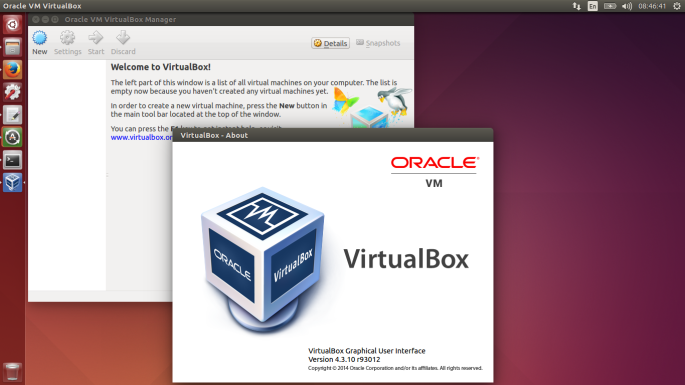
To know about Virtual-Box version click on Help >> About Virtual-Box .
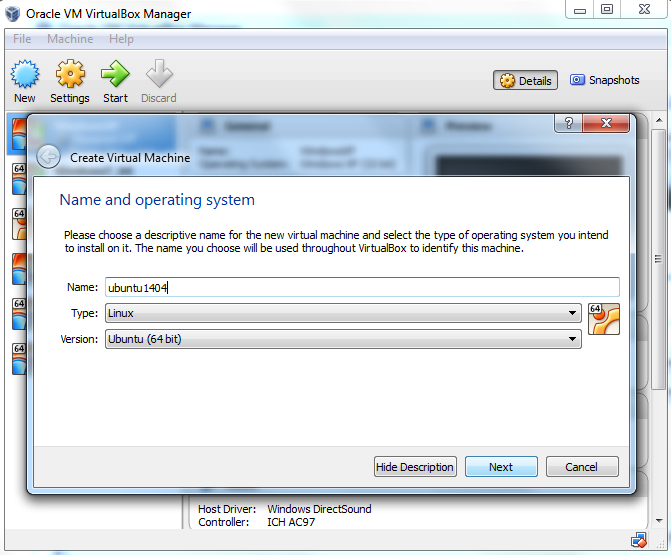
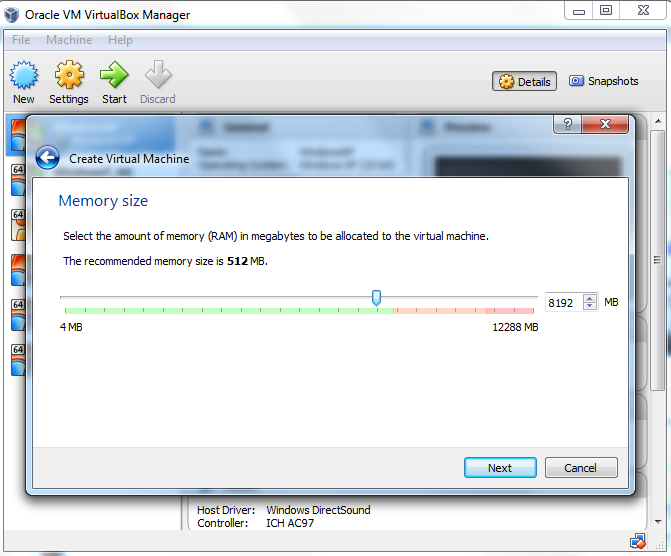
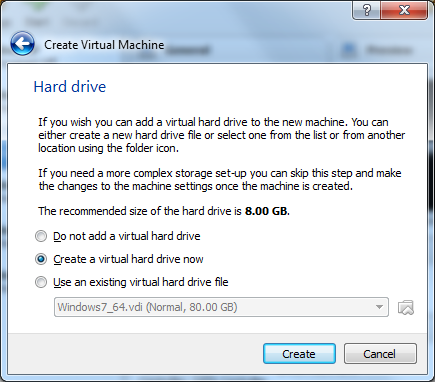
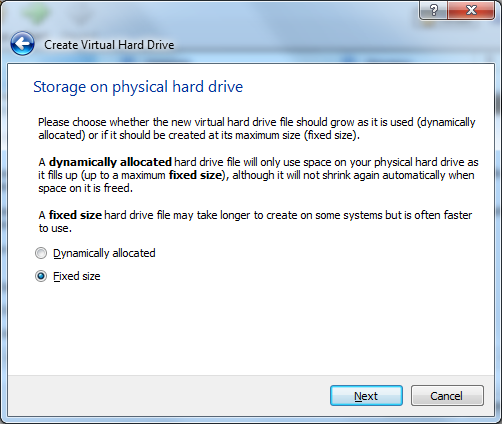
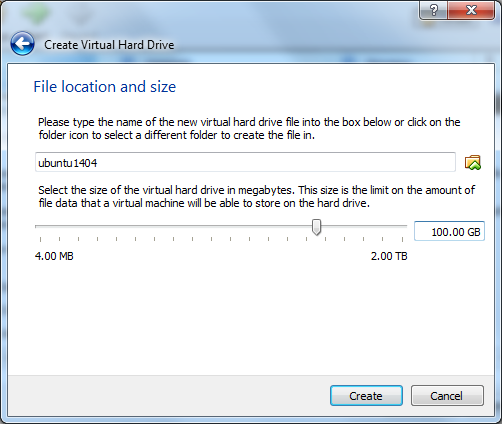
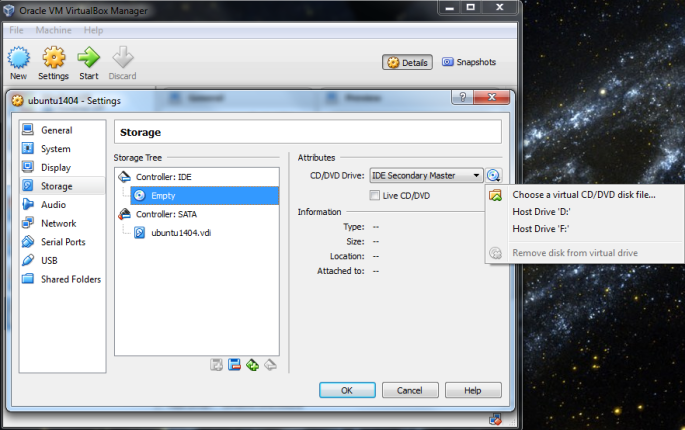
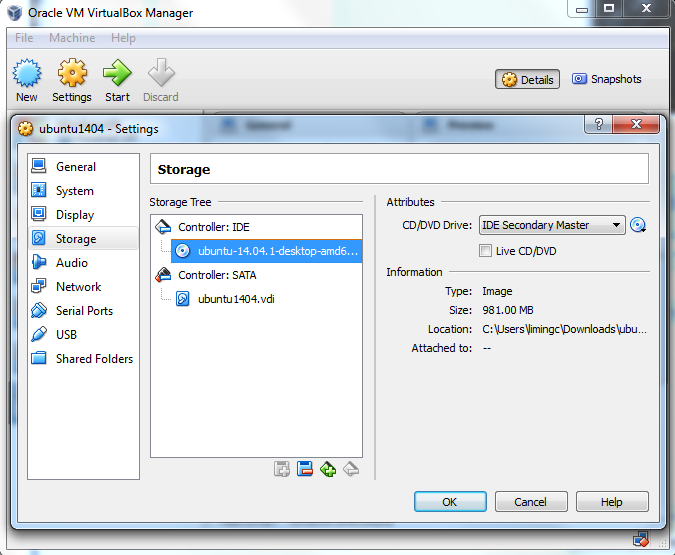
Once the Installation has been done, we need to setup our Virtual-Box working as Ubuntu 14.04 LTS Operating System. So, some configuration needs to be performed as mentioned below in form of screenshots: